otherwise classes don't seem to bad physics maybe interesting i don't know if that's a good or bad thing well i bring art this time so yay this is a sketch book page from physics today(click for a better look)


 this is a using all black line not colored bacock mentioned it so i thought i would see how it looked
 this is taking away the color a friend told me he liked it more without color so i thought i would check it out and get ridd of the pink
 last was a trying the last one out with black instead of a blue pattern
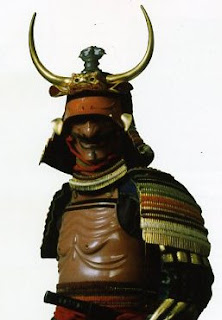.jpg) this is the image that i used for reference this time i was going to do another interpretation of my first project i will be using only photoshop
this is the image that i used for reference this time i was going to do another interpretation of my first project i will be using only photoshop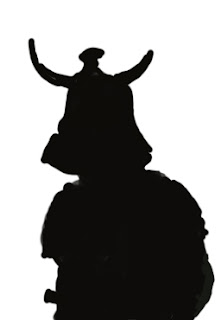.jpg) i started out by making a blackout of the image. i will be using this as a base
i started out by making a blackout of the image. i will be using this as a base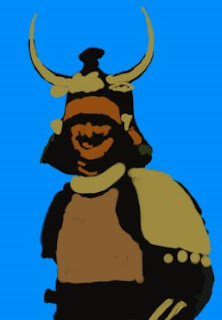.jpg) next i filled in the color sections with flat color using a solid brush
next i filled in the color sections with flat color using a solid brush.jpg) i then added some detail to the arms to break up the black
i then added some detail to the arms to break up the black.jpg) after the initial color i add in the smaller colors mainly thread and cloth
after the initial color i add in the smaller colors mainly thread and cloth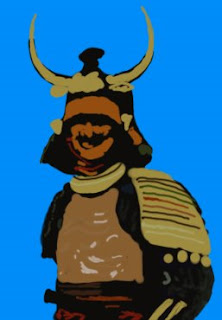.jpg) after this i started to build up the chest by adding in a middle color and a white this was to make highlights in the raise
after this i started to build up the chest by adding in a middle color and a white this was to make highlights in the raise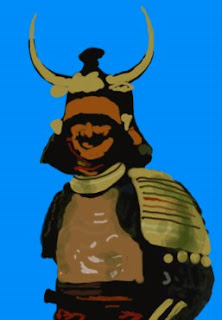.jpg) in this step i added in green at a little less then 50% opacity this was to help break down the solid colors
in this step i added in green at a little less then 50% opacity this was to help break down the solid colors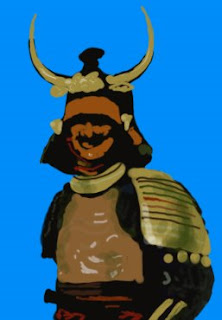.jpg) next i added in some bright white on the face and the sode(shoulder pad)
next i added in some bright white on the face and the sode(shoulder pad)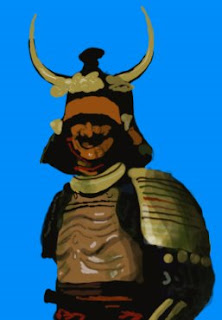 last i added in dark shadows to make the whole thing more 3d
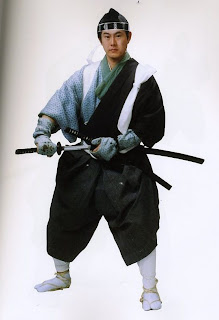 my first step was getting a picture i own a book that is full of people dressed as samurai and other feudal Japanese clothes its a great reference book and i thought i could use it for a base for this finally instead of sketches
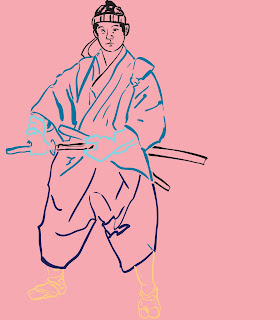jpg.jpg) once in illustrator locked the layer and opened a new layer for the line art. i used the blob brush to do the line work after useing the blob brush multipull times it has probably became one of my favorite tools i turned the variation up alittle. after i drew it out i broke some of the lines and started to make them different colors
once in illustrator locked the layer and opened a new layer for the line art. i used the blob brush to do the line work after useing the blob brush multipull times it has probably became one of my favorite tools i turned the variation up alittle. after i drew it out i broke some of the lines and started to make them different colors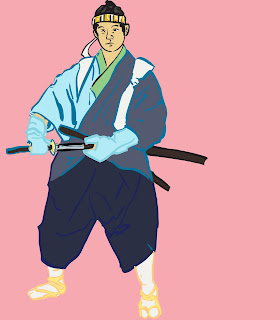jpg.jpg) once i was done with the line work i moved it over to photoshop i started by locking the line aart layer then i added in a pink background on a seperate layer and lock that layer too. from there i opened a 3rd layer and named it color here i layered in flat color for the base of the illustration
once i was done with the line work i moved it over to photoshop i started by locking the line aart layer then i added in a pink background on a seperate layer and lock that layer too. from there i opened a 3rd layer and named it color here i layered in flat color for the base of the illustration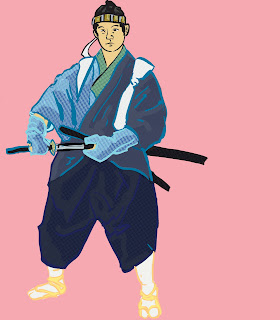.jpg) after this i opened up a new layer and filled the layer with a color i think it was orange from there i went to filter and clicked on pixelate then color halftone i chose 8 from there i went to channels and got rid of the blue and red channels and chose the green channel and the dots it left from here i made a pattern out of it then i filled a new layer with the pattern and turned the channels back on. i did this again but this time i kept the blue dots they were bigger
after this i opened up a new layer and filled the layer with a color i think it was orange from there i went to filter and clicked on pixelate then color halftone i chose 8 from there i went to channels and got rid of the blue and red channels and chose the green channel and the dots it left from here i made a pattern out of it then i filled a new layer with the pattern and turned the channels back on. i did this again but this time i kept the blue dots they were bigger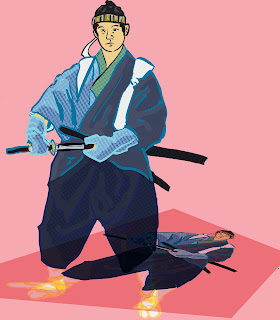.jpg) once i was done with the pattern i decided i want to finish it up with making a shadow the way i went about this was by coping the layer then putting it in multiply and then using the skew function under transform i skewed the new one that was on top after skewing it to the way i wanted i locked it
once i was done with the pattern i decided i want to finish it up with making a shadow the way i went about this was by coping the layer then putting it in multiply and then using the skew function under transform i skewed the new one that was on top after skewing it to the way i wanted i locked it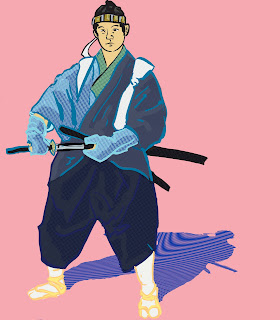
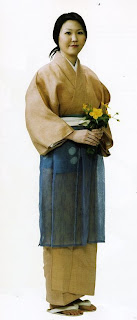
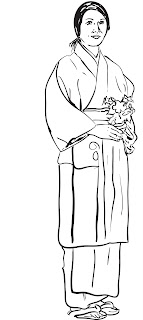.jpg) the first thing i did was open the picture in illustrator and use the blob brush to make line art of the pic i used the blob brushes variation to make the lines have a little character i still think i could have pushed this a little more but i will try experiments like those in the future
the first thing i did was open the picture in illustrator and use the blob brush to make line art of the pic i used the blob brushes variation to make the lines have a little character i still think i could have pushed this a little more but i will try experiments like those in the future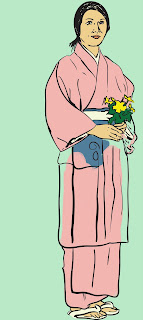.jpg) after i have the line art done i move it to photoshop i start by putting a flat color in for a background i chose green to offset the pink i was planing to use. once i had the background in i opened a new layer and colored the image i used pretty flat color like paul pope did in the piece i made a master study of
after i have the line art done i move it to photoshop i start by putting a flat color in for a background i chose green to offset the pink i was planing to use. once i had the background in i opened a new layer and colored the image i used pretty flat color like paul pope did in the piece i made a master study of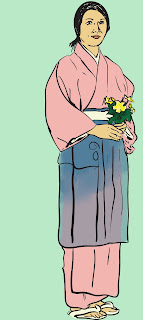 and lastly i added a layer over the last one which had a see though look to it to help create the effect of a semi transparent garment i used the brush tool at 30% and went over it a few times